Adjustment Tools: How to Sharpen your Pet’s Photos
Note: if view on mobile, zoom in to see the difference between the Before/After pictures.
We love our pets. They’re there for us through thick and thin and bring us joy and happiness to our every day lives!
And out of those hundreds of photos we’ve taken of them we’ll catch that near perfect photo that defines their personality and who they are.
So let’s enhance that photo with three free photo editing tools from Ribbet: Sharpen, Clarity, and Unsharpen.
Sharpen dull details
So what is sharpen? Its the process of adding more contrast between the light & dark edges you find in your photo.
Those edges in your photos can be found in your cat’s whiskers to individual hairs to the ridges on your dog’s nose. When these thousands of edges aren’t crisp and sharp, they give off that slightly out of focus result. Very frustrating.
Photographers will use the sharpen tool regularly to compensate for that very reason. The trick is to not over use it.
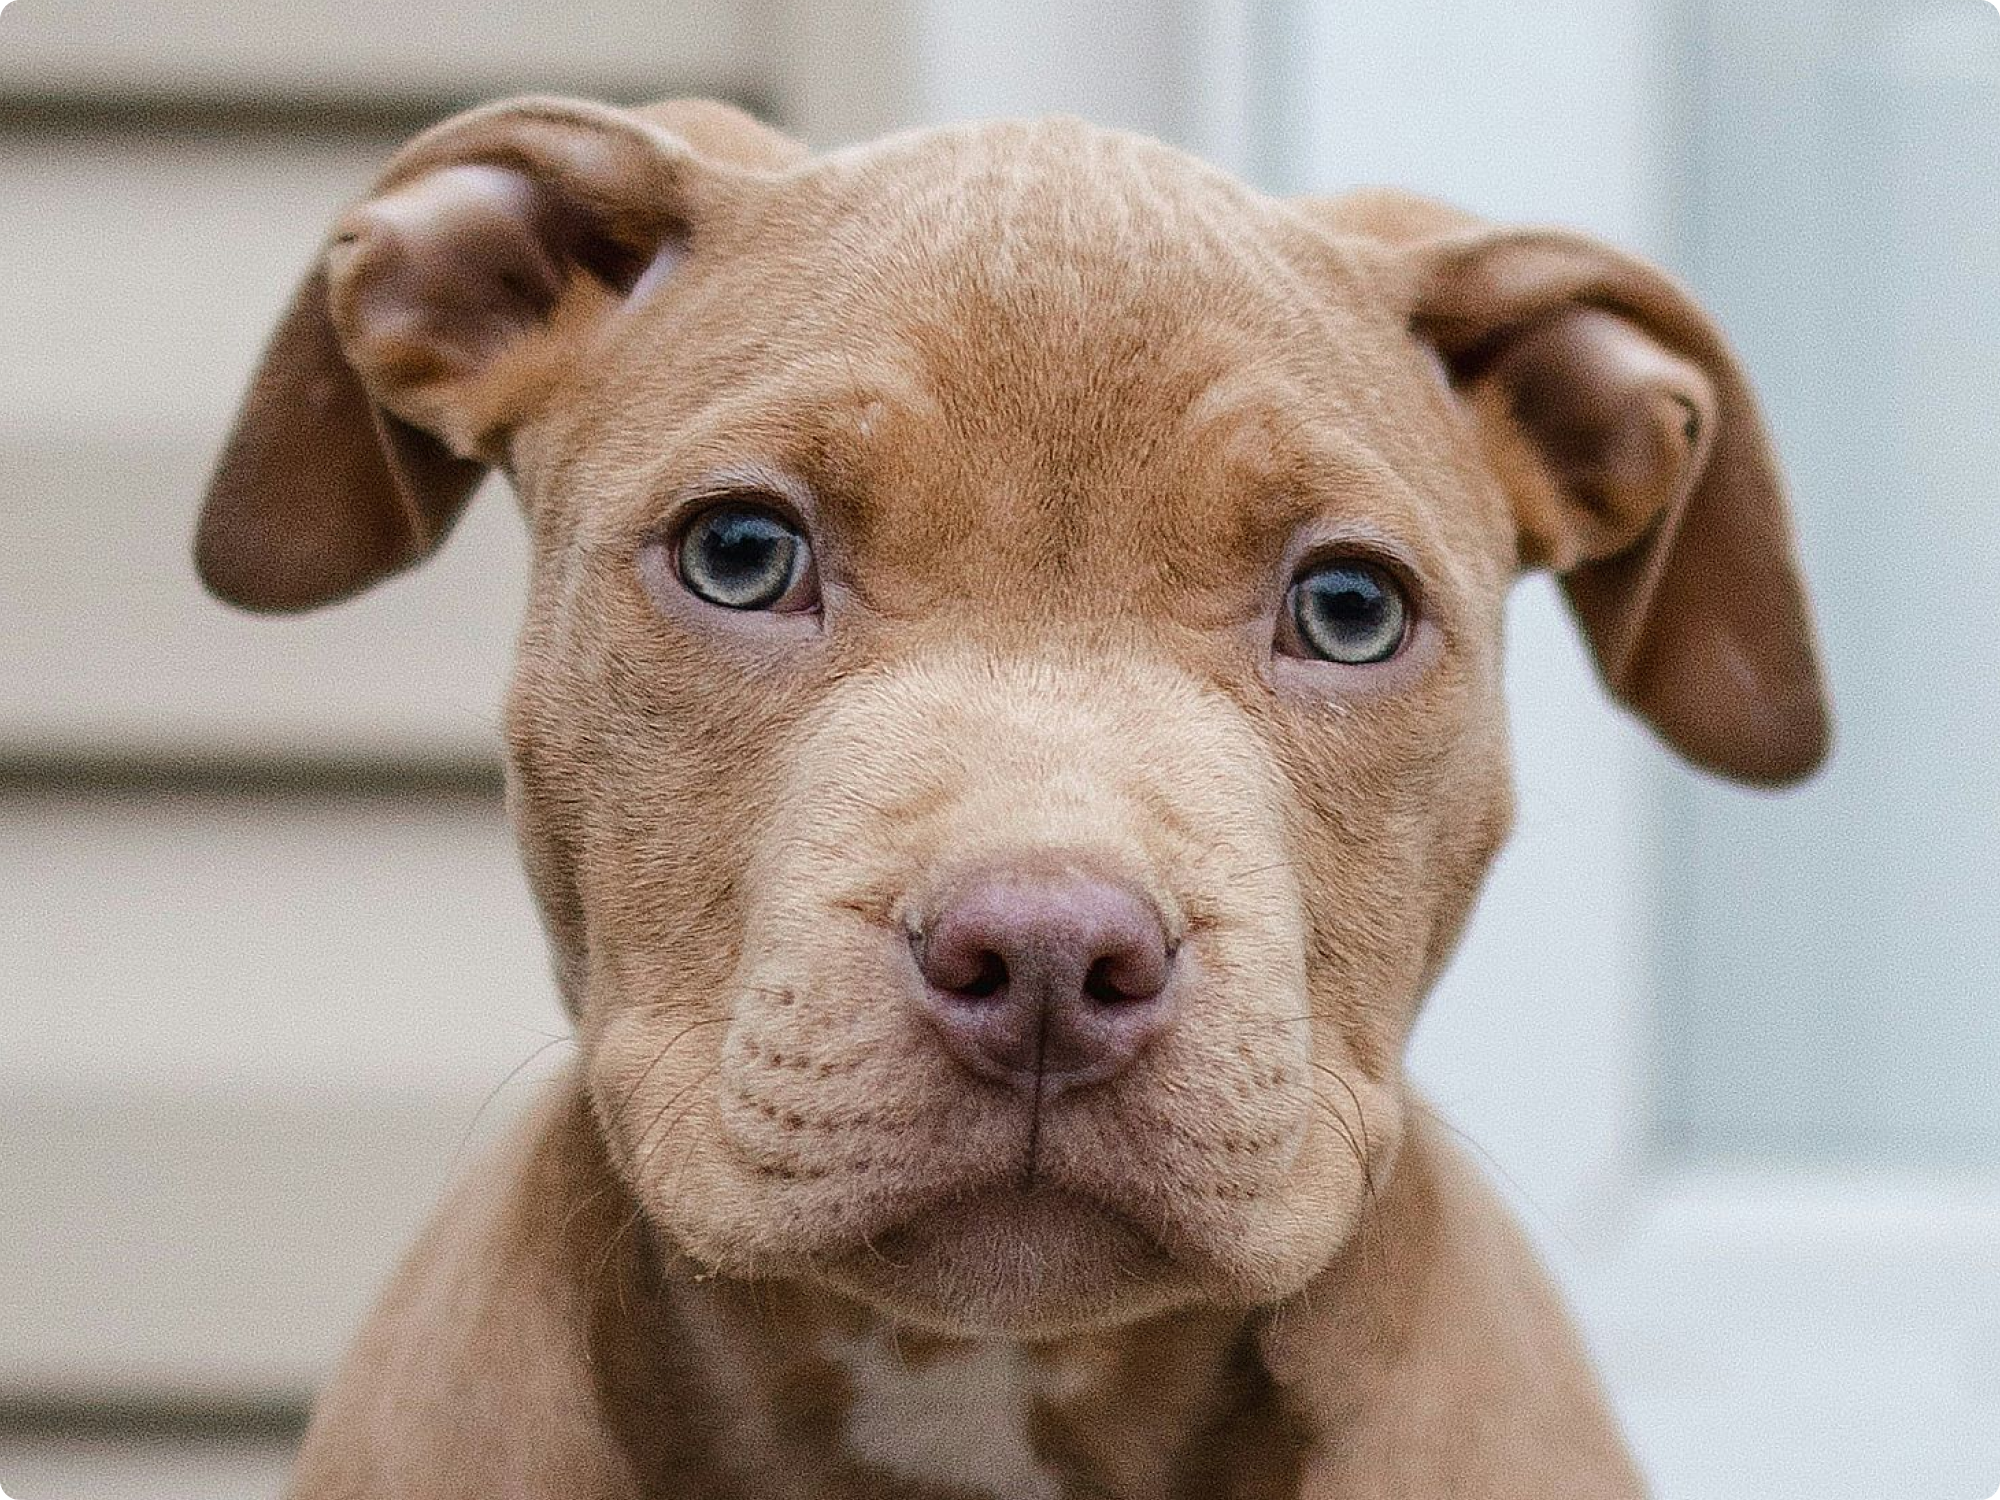

Photo by Jordan Bigelow on Unsplash
Add Clarity where isn’t any
There is also another tool you can use in parallel with the Sharp tool called Clarity.
The Clarity tool will do the same as what Sharpness does for your edges but to your photo’s mid tones.
What are Mid tones? Midtones are the areas in between the highlights and shadows in your photos (where it’s the lightest and darkest) and help add depth and dimension to it.
So if the mid tones in your photo look muted/dull, the clarity tool will come in and add depth to it by increasing the contrast.
This is a wonderful tool when lighting wasn’t favourable when the was picture taken and you can pull in those details.
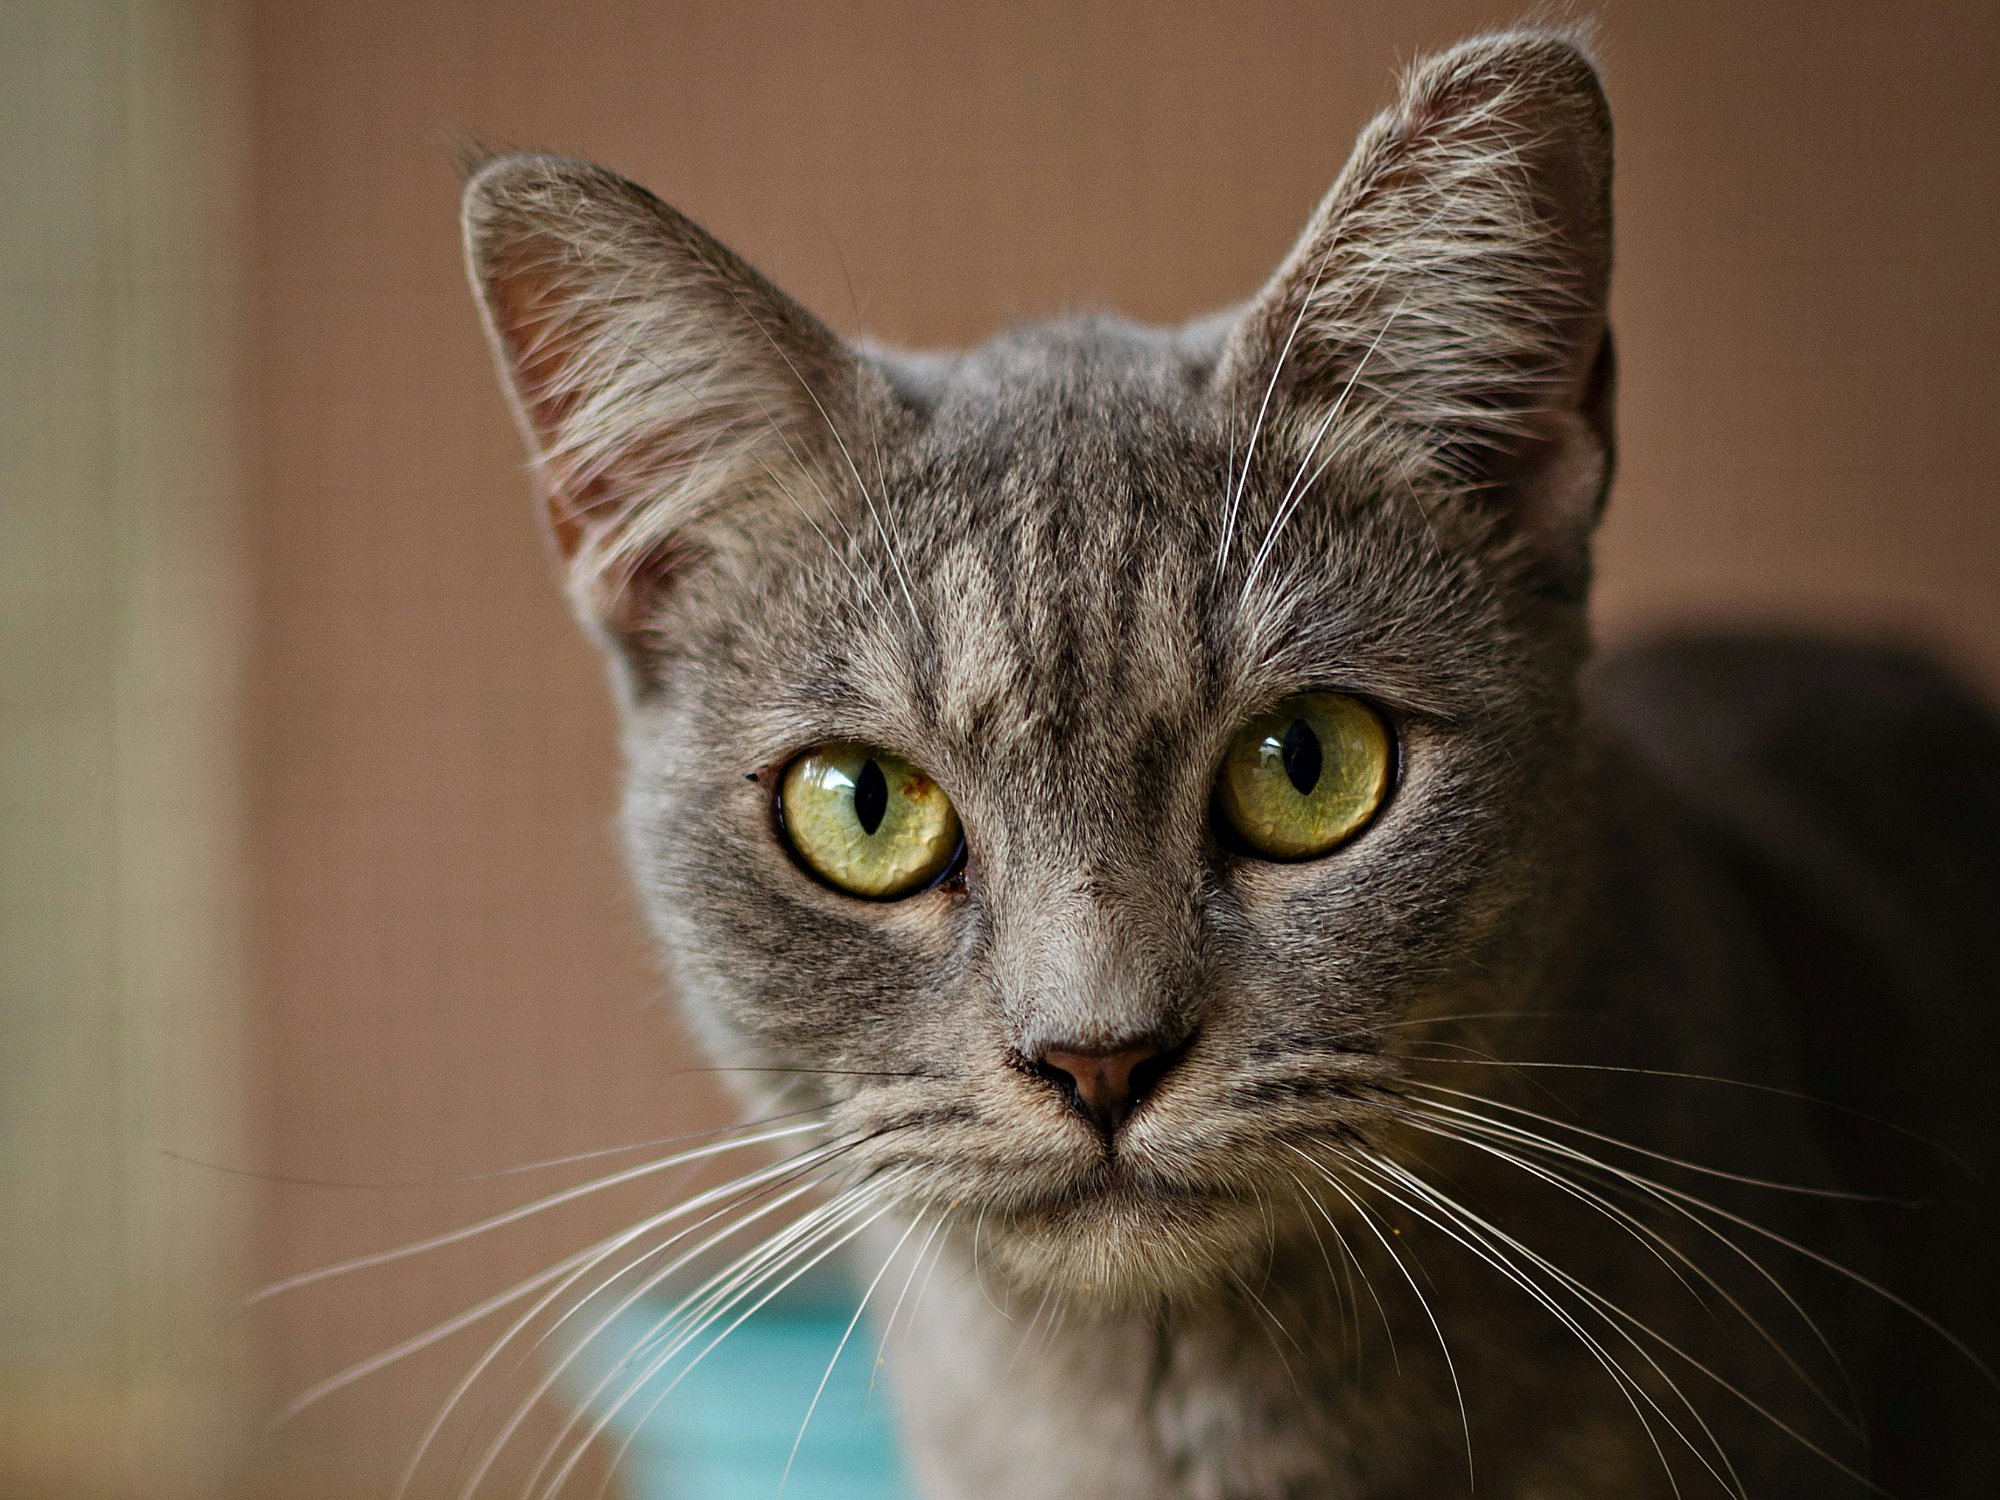

Photo by Putra Mahirudin on Unsplash
The UnSharp tool
The Unsharp tool is similar to Sharpen, but a bit more advanced. Remember how the Sharpen tool works?
UnSharp allows you to do the same but it will let you determine the Radius the sharpen should be applied to your image’s edges. The stronger and wider the radius you apply with the unsharp tool, the more those edges will stand out.

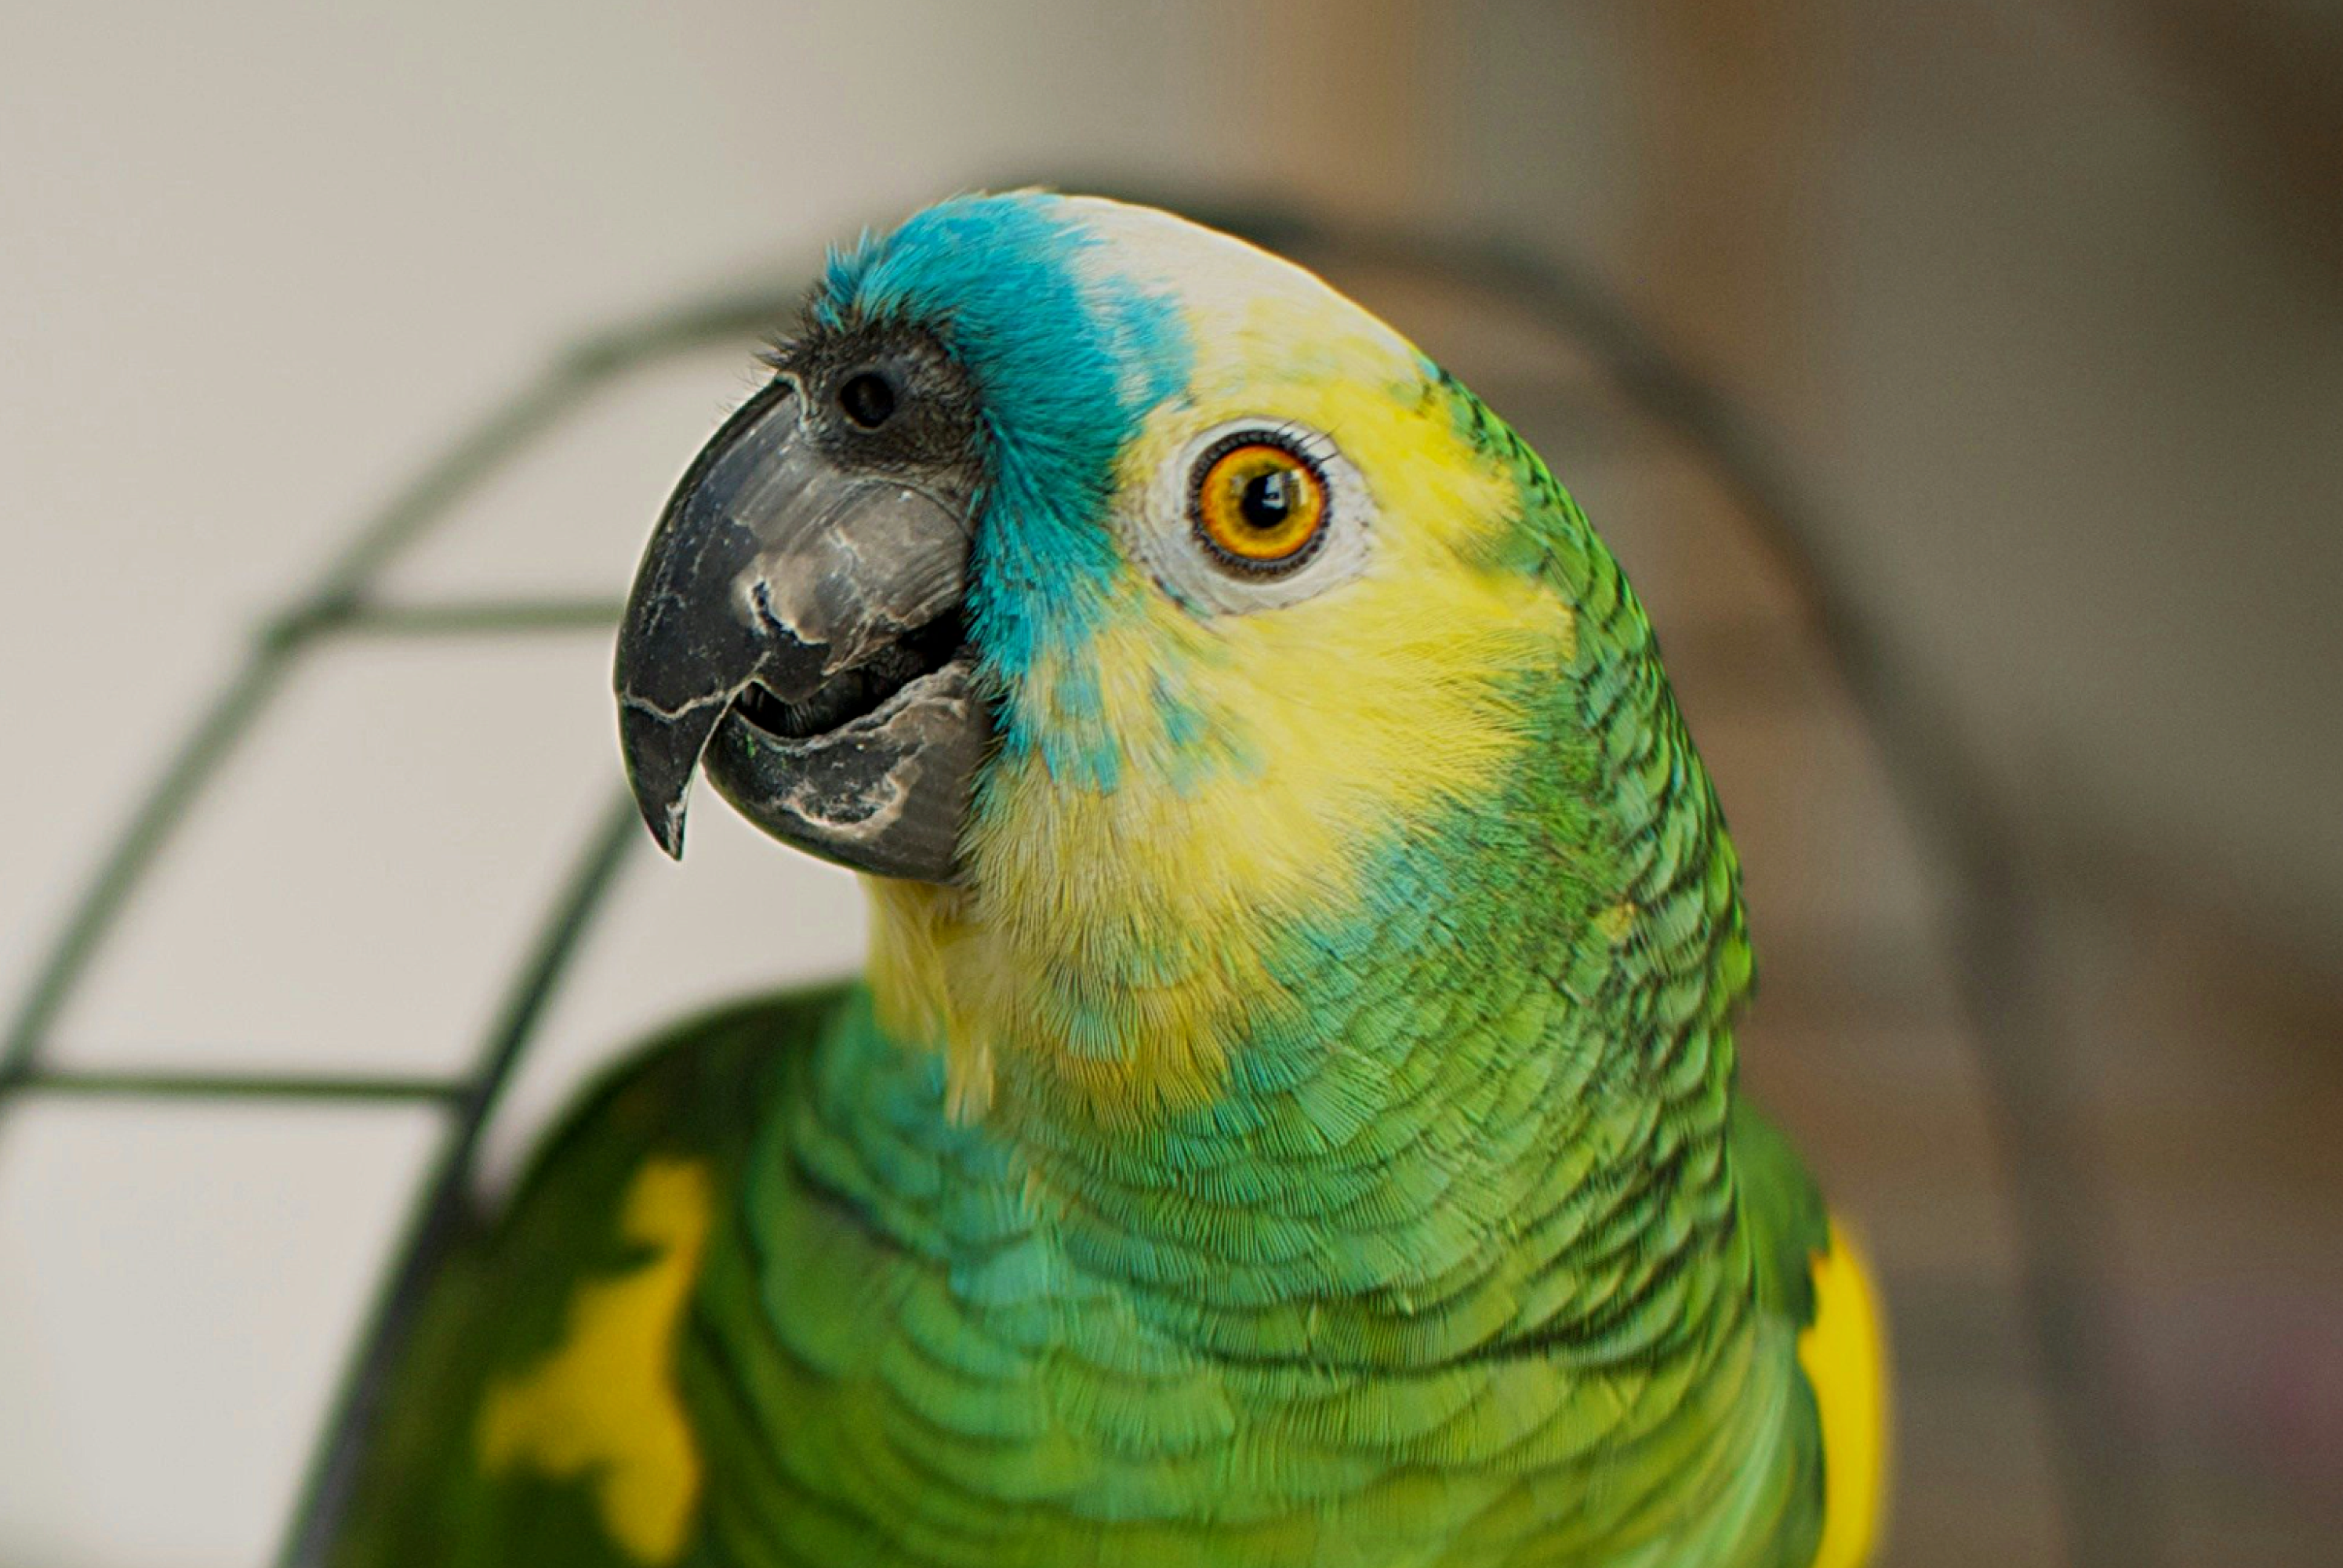
Photo by David Vives on Unsplash
How to use it (FREE)
There isn’t a wrong way of using these tools. What it comes down to is how happy you are with the results. However, I do tend to lean that using these tools should be moderate and even exploring other adjustment tools like Saturation, Brightness, etc can be just as important.
To start using it, head to Ribbet and make sure to sign in or sign up with a Ribbet account. These three tools are completely Free (and many others). Just make sure to pick the Free Plan.
Once you signed in, Select or Drag an image on the homescreen. Once your photo is uploaded it will promptly direct you to the Editor.

On the right left panel, Notice the Adjustment Section (With the Sliders icon, third from the top), Click there and the three options will be under “Sharpen”

You can toggle the strength for either the sharpen or clarity tool by moving the slider to the right. To Enable the UnSharpen tool, click to toggle it and increase the strength as well.
I would also recommend to start adjusting with the Clarity tool (larger areas), followed by the Sharpen tool (fine edges).?
At full strength, you’ll notice a strong grainy effect over the whole photo and some additional unwanted effect. So unless that is the effect you are looking for adjust the sharpness of your photo moderately.
Happy editing!
