Ribbet Guide to Photography: How to do a Boho themed Family Photo
The Bohemian style (Boho) is a popular fashion trend for its depiction of free spirited, artistic, and eclectic way of life.
And if we look into it deeper, the term bohemian hasn’t changed much. Originating from the french in the 19th century, it described a way of lifestyle that was considered unconventional to that time: Nomadic, Snappy Dresser, Artistic, and Spiritual.
So what would happen if we take that bohemian spirit and apply it to a Family Photo shoot?
Let’s look together on how you can achieve beautiful results while having a great overall experience with the family.
Choosing the “Right” Camera:
No camera, no photo. If you don’t own a professional camera, that’s fine—your smartphone most likely will do. What matters is knowing the basics when taking the photo than the hardware (more later on this).
If you already have a DSLR Camera there’s no denying this is the better option.
But the key is to this successful photoshoot will be laid out below, rather than leaning on the equipment.
Setting Up the Shot:
You want everyone to be in the shot, including you, so make sure to use tripod and set a timer on your camera or smartphone. This will obviously free you and your loved ones to get comfortable for the pose.
If you don’t have a tripod stand you can get one off of Amazon for around $20 while your Smartphone or Camera will definitely have a timer function. Again, keep it simple.
Locations, Locations, Locations:
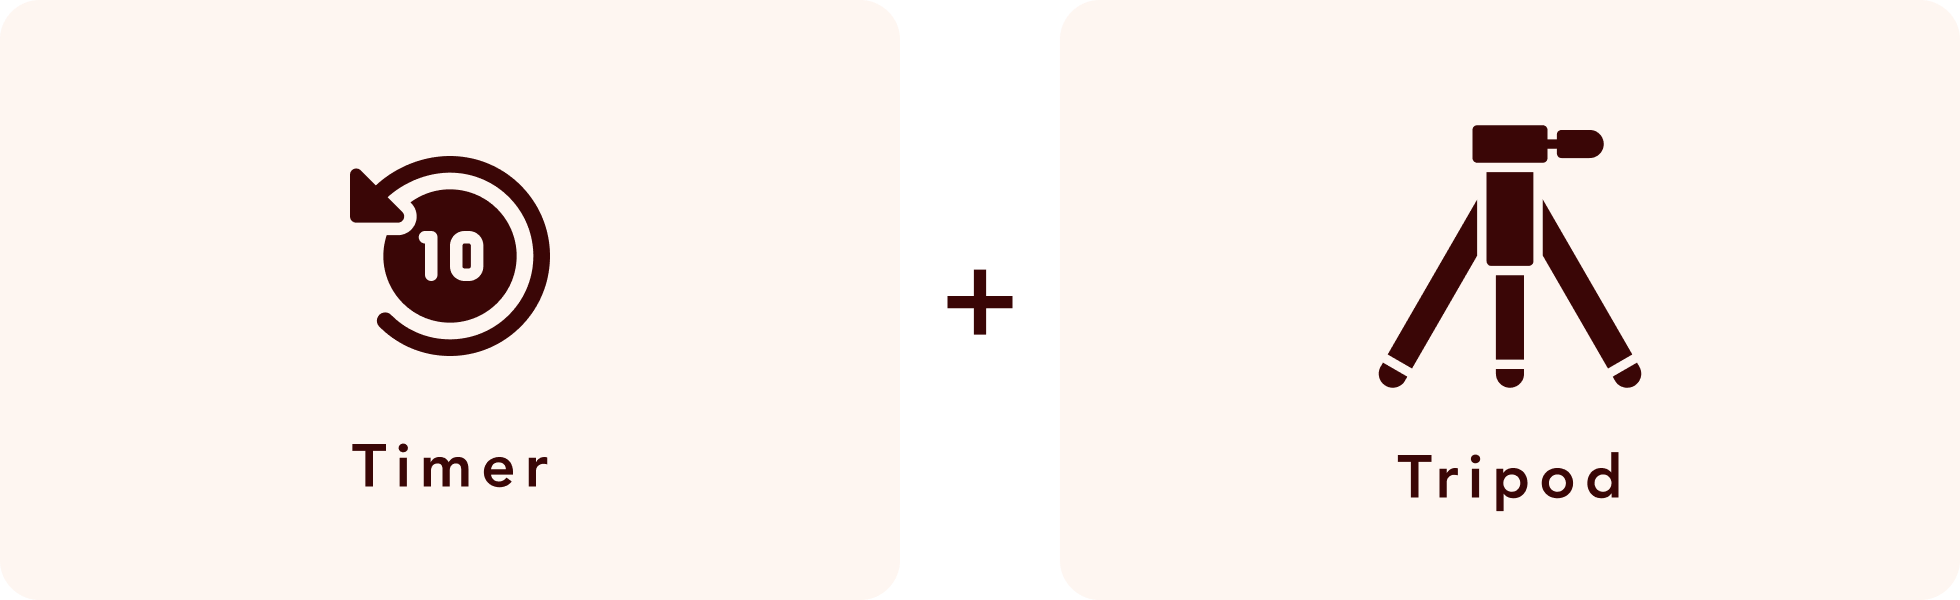
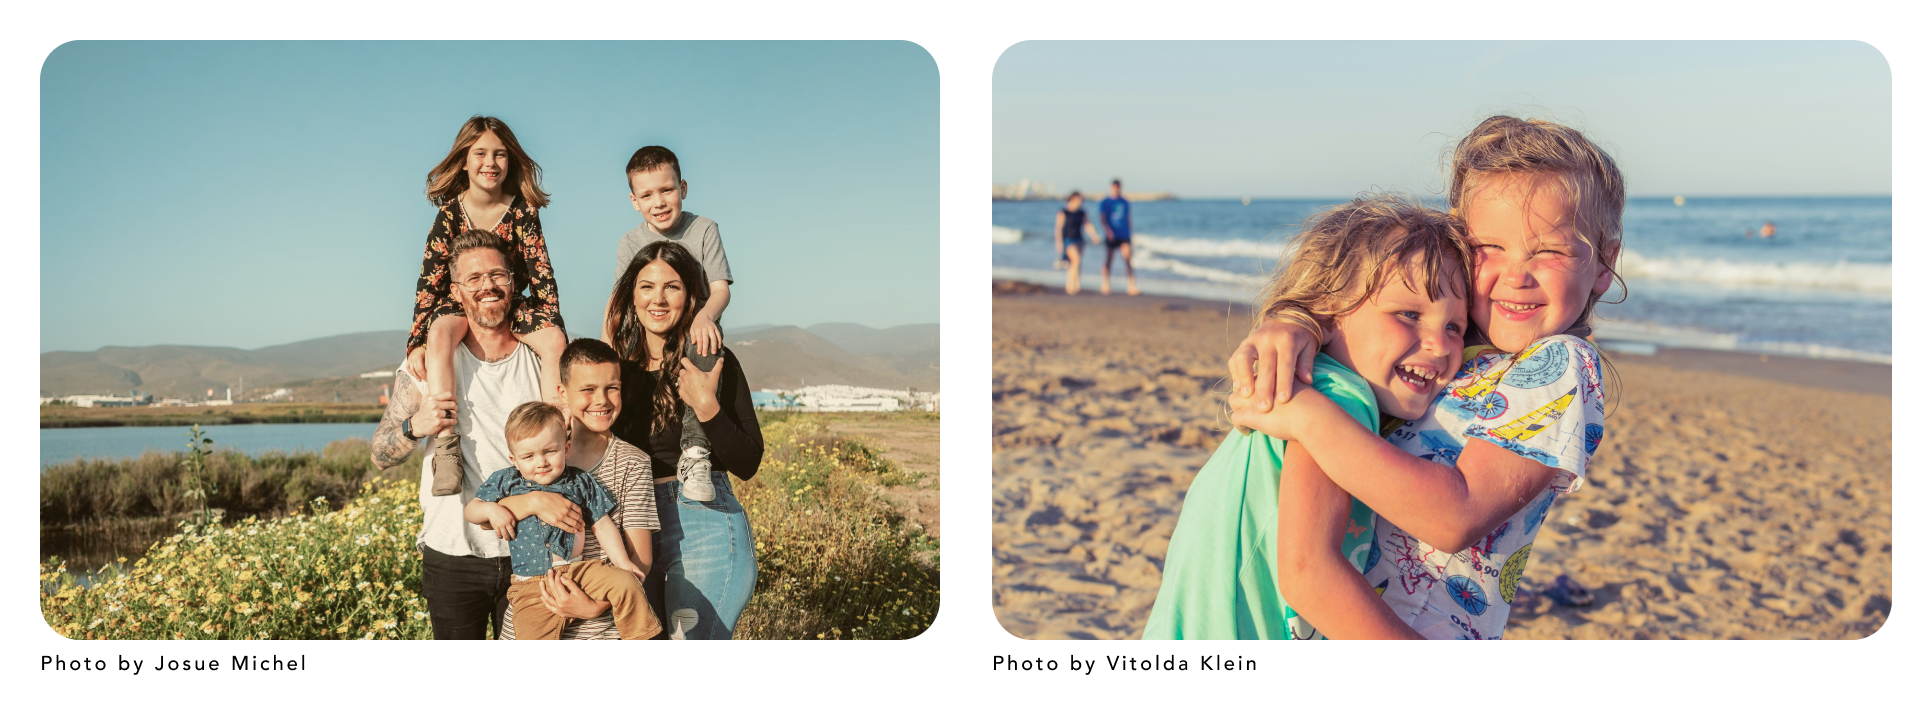
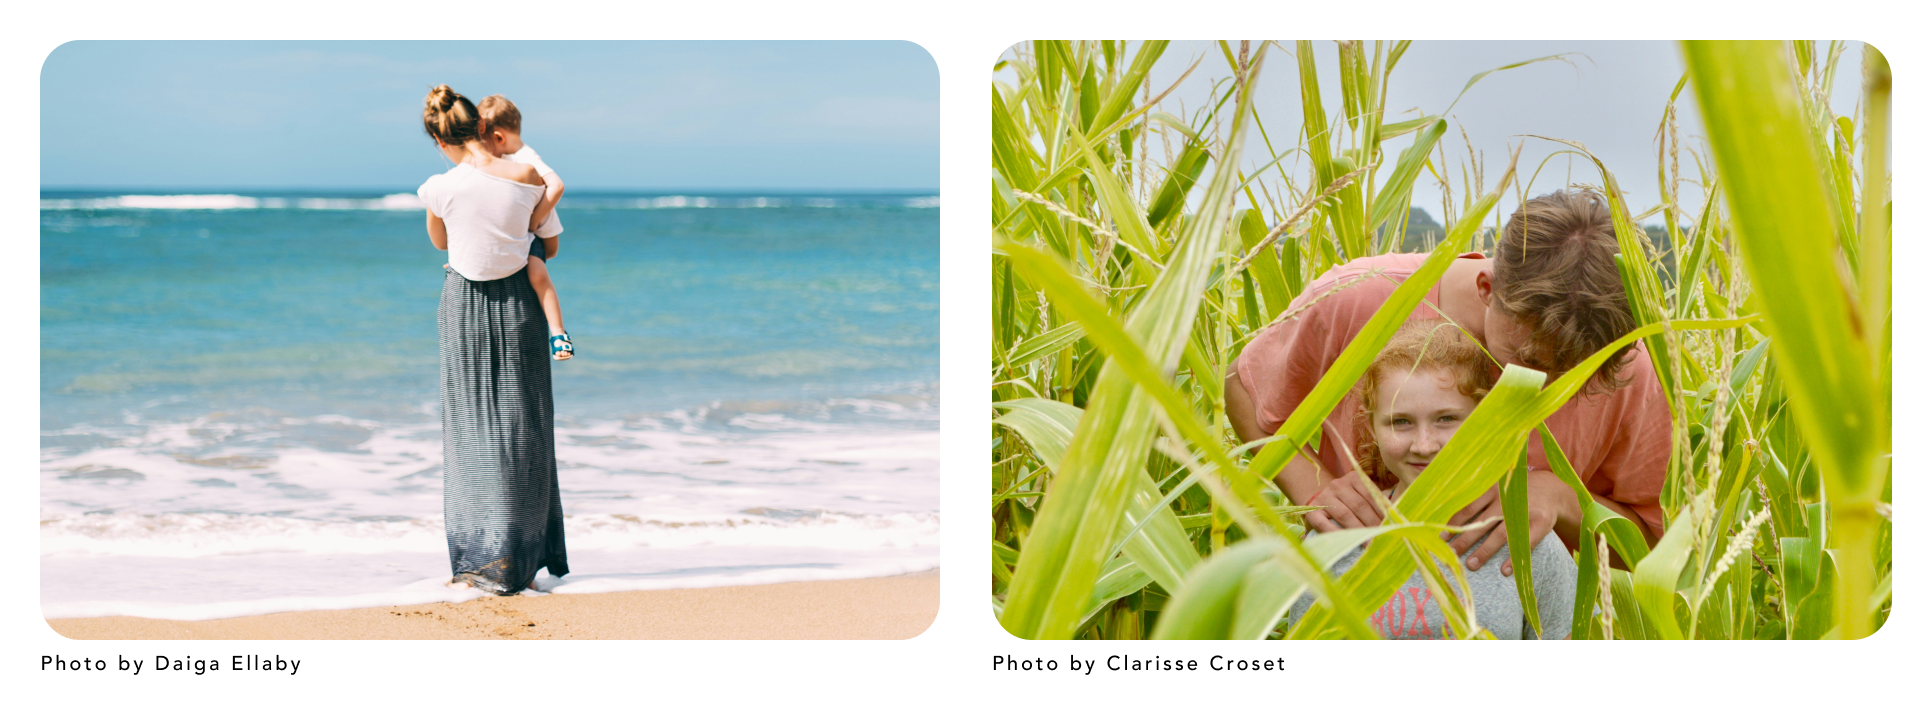
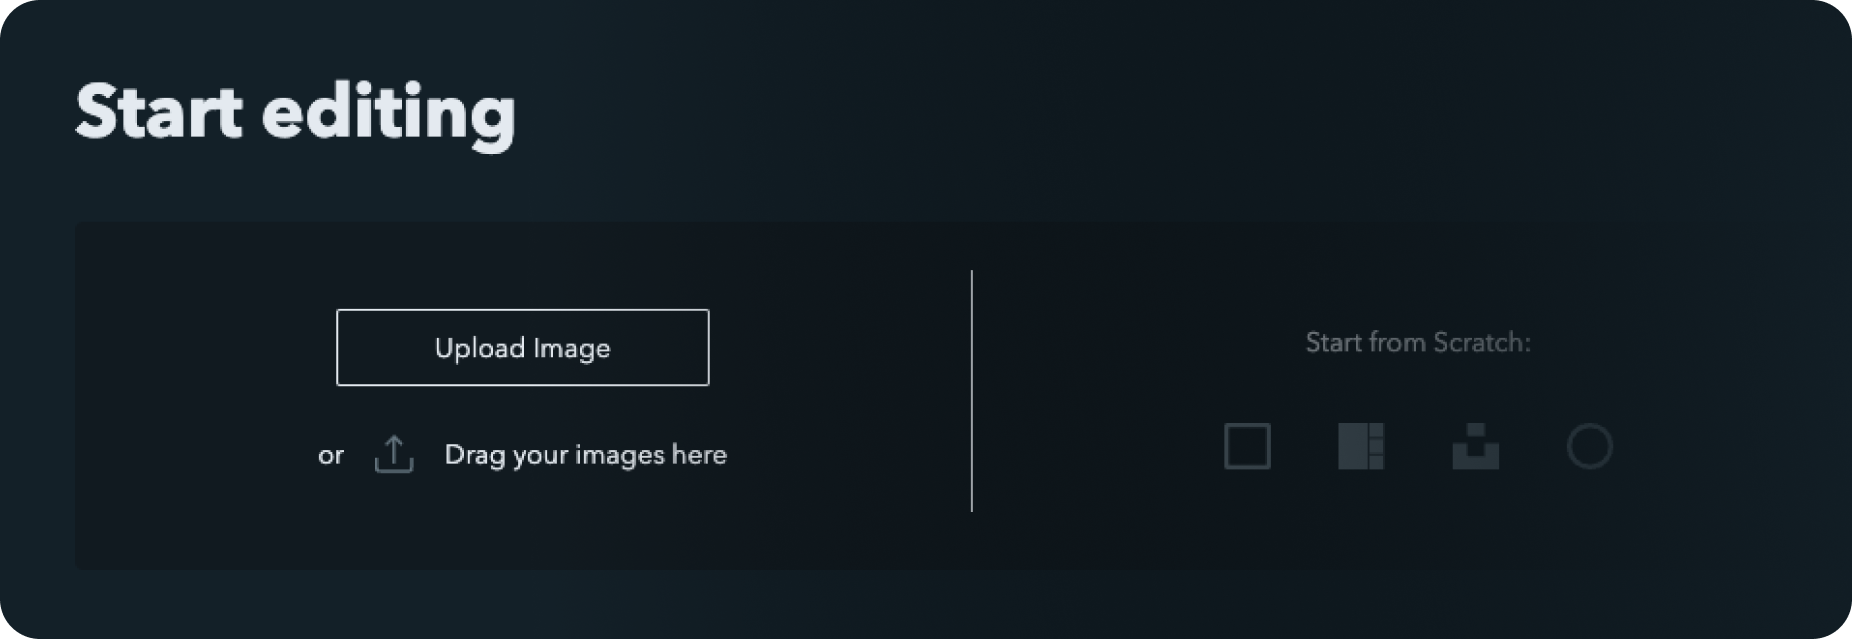
The beauty of bohemian photography is that it embraces nature’s backdrop, regardless of the season. It won’t take you long to start brainstorming where the photoshoot can take place. A little trip to the local Apple Orchard? The park on your way to work/school drop off? A weekend excursion to the mountains? Even your backyard can be your studio.
What to keep in mind is whatever location you pick make sure there are no modern buildings or infrastructure in the shot.
Spring
Seek out blooming flowers, meadows, or parks and local farm will add that magical touch you’re looking for.
Summer
Enjoy the calmness of the beach, Sunflower fields, or again your very own backyard. Incorporate the surrounding beauty. A warmly lit area towards tusk is going to give that extra touch.

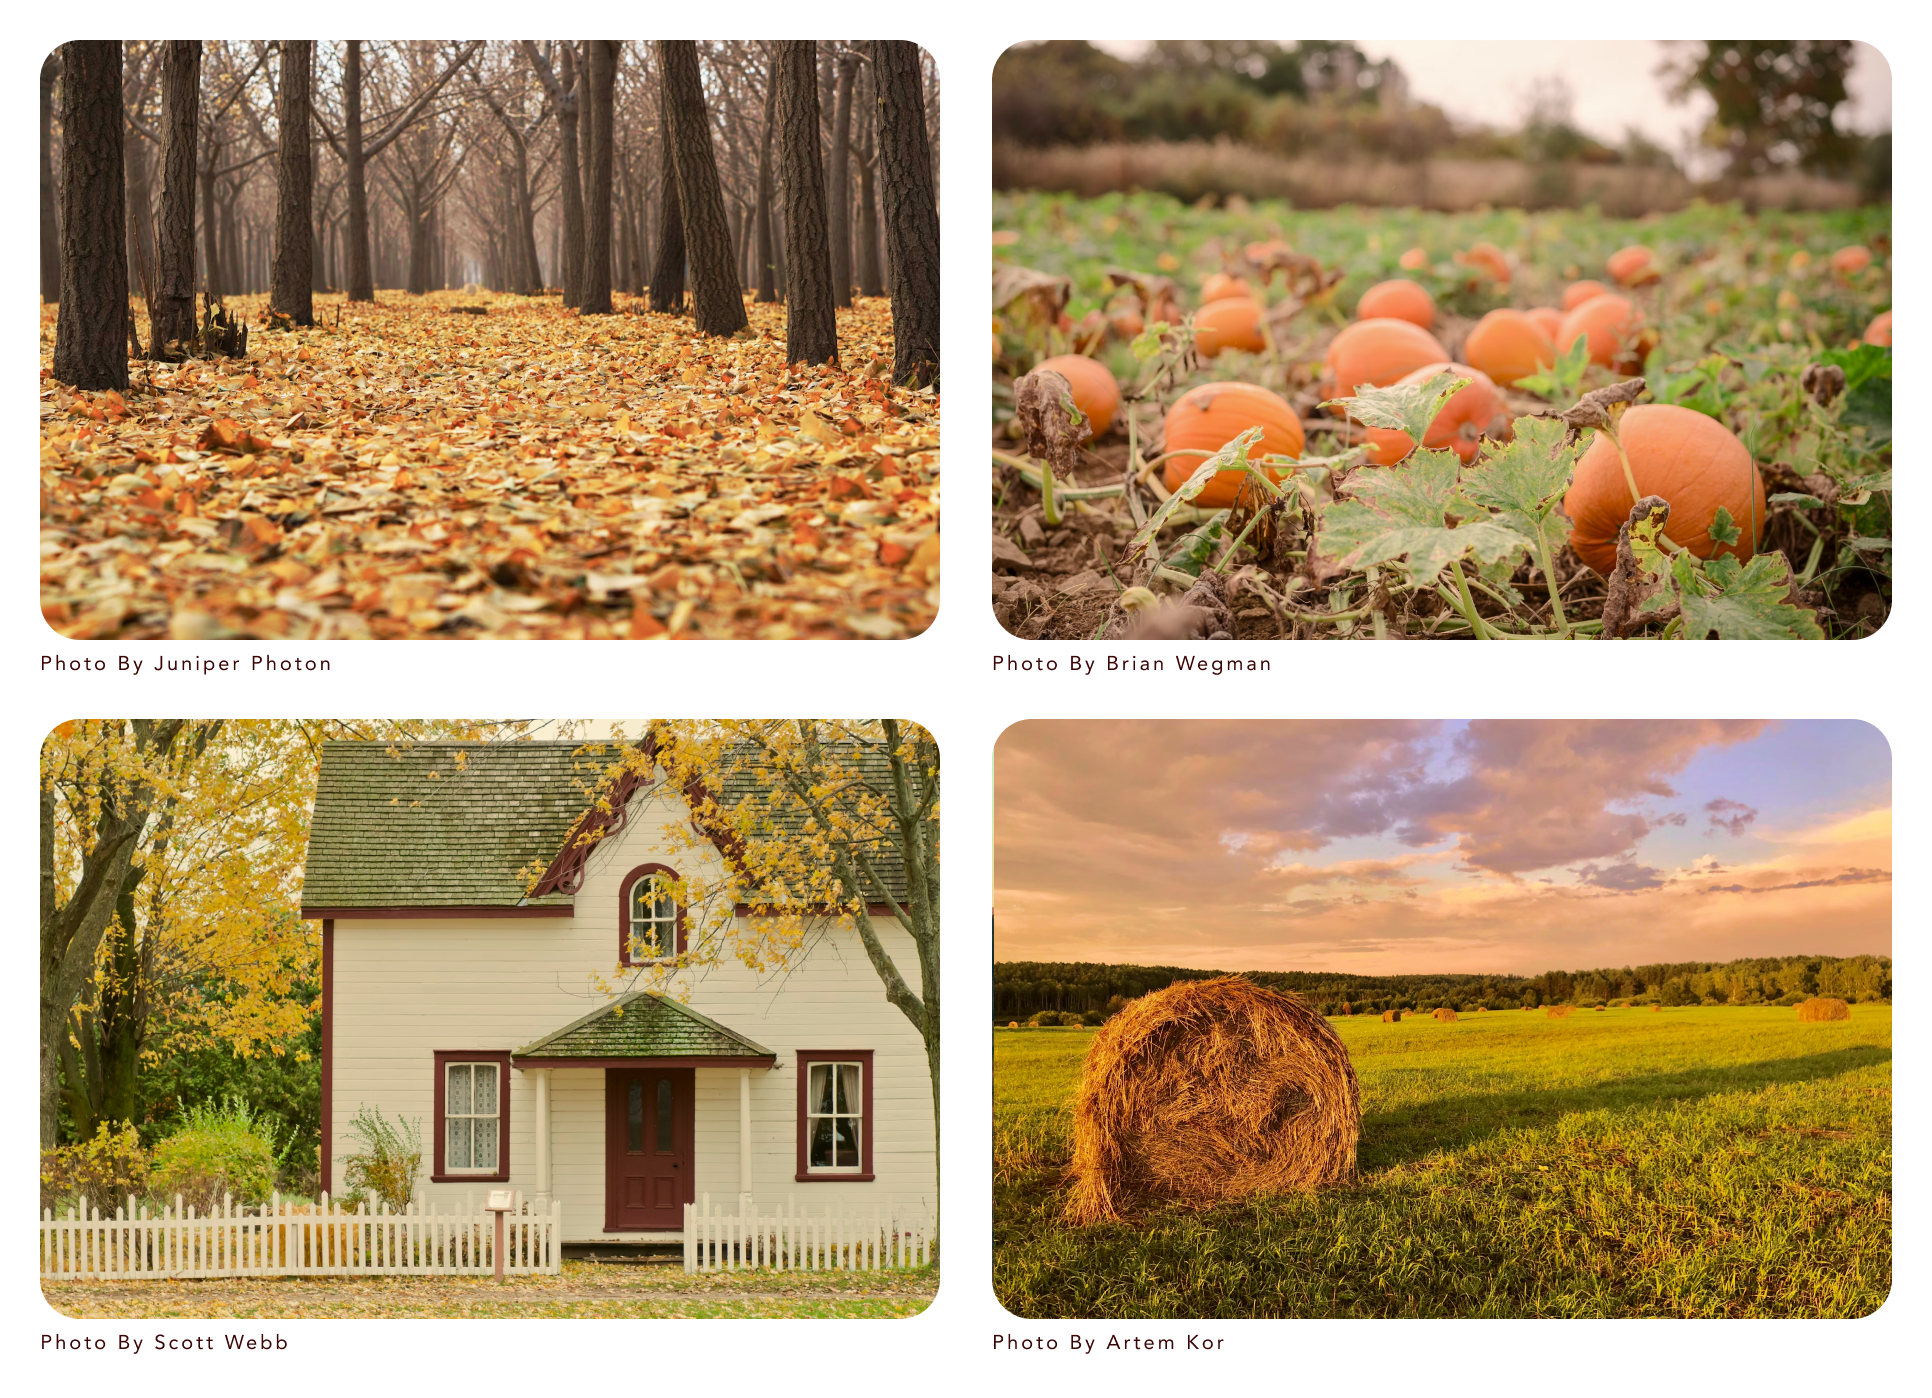
Fall
Embrace the rich hues of autumn by posing in parks or Farmer’s field (with permission of course!) with all the colourful foliage. You can also enhance the atmosphere by using old standing buildings as a backdrop that lend to a more rural/simpler way of life.
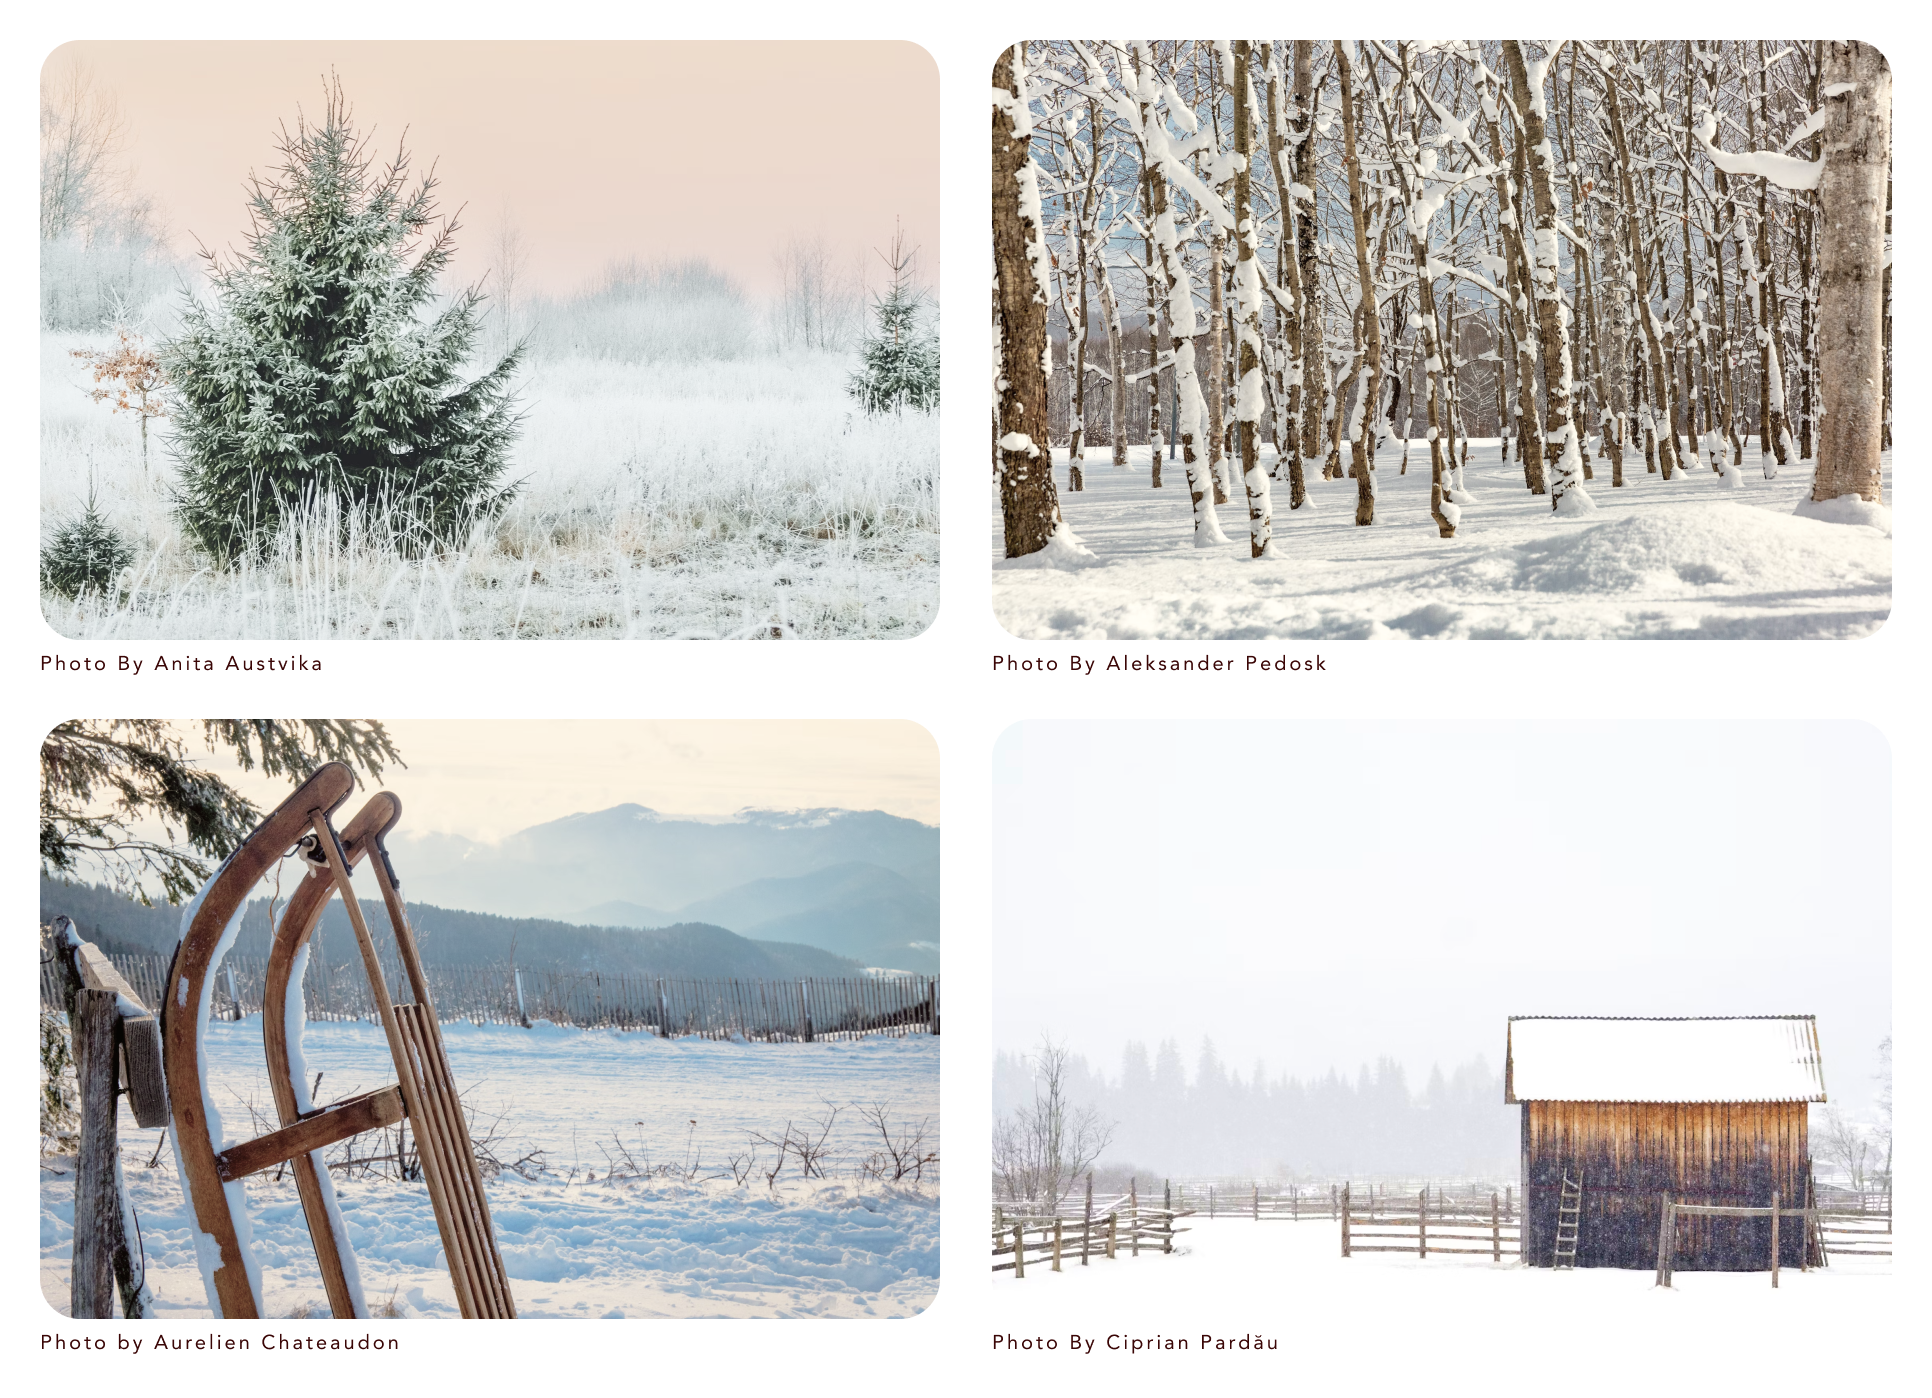
Winter
Capture the ethereal charm of bare trees or evergreen forests, embracing the muted colour palette. Old wooden structures such as cabins, sheds, and even a sled / fences will add that vintage look you want to be going for.
Clothing and Accessories:
To enhance the bohemian theme, choose clothing and accessories that reflect that free-spirited vibe is necessity. You’ll do fine if you avoiding synthetic materials and lean towards more handcrafted style clothing and apparel.
What to wear
Wear clothes that are loose, lightweight, and unstructured. Play with patterns and prints. stick to earthy colours that will reflect a natural rugged look.
For Women/Girls:
- Flowy dresses / skirts with floral prints or earthy colours.
- For colder weather add extra layers with a poncho, knitted sweater, wool coat

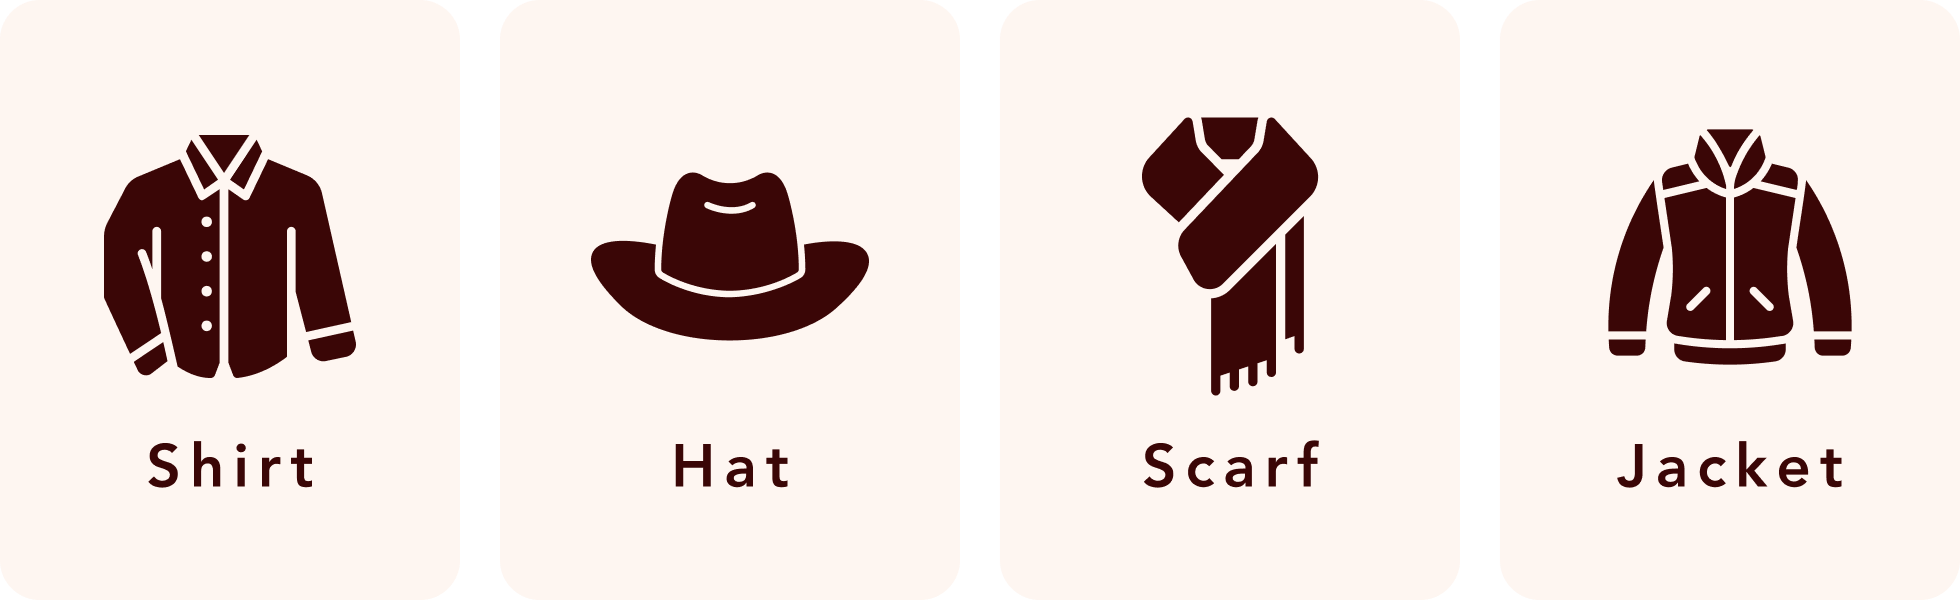
For Men/Boys:
- Opt for relaxed button-up shirts and earthy accessories like cowboy hats with denim pants.
- For colder weather you can opt for leather jacket, large scarf, and anything knitted
Check your closet for anything you might have in storage or even take a trip to the thrift stores to see if you can find some bohemian pieces.
Just remember when picking and choosing to make it your own.
What to accessorise with
Artisanal jewellery would be the way to go. Earrings, Necklaces, Rings, leather bracelets/headbands, and so forth. Don’t need to overdue do it; just 1 or 2 pieces in the shot will do to accentuate that bohemian style.
Check out local artists (online shops, markets) and again pick out pieces that fit best your personality.

Taking the Photos
Before i delve into this next bit i have found it exceptionally helpful to practice these next tips a week or so before the photoshoot.
No need for bohemian location or clothing; just you, your camera and tripod, and your family having some warmup sessions. This will lend to less surprises during the actual photoshoot.
Don’t stress, have fun
You’ll want everything to be perfect, especially if you are new to photography but let’s manage expectations as well. We want to make this photoshoot just as memorable as the pictures
- Stay safe. wherever you’re shooting the pictures be comfortable and out of harm’s way
- Have the family participate and help you as you get setup for the photoshoot
- Be mindful of time! You don’t want to rush it but you also don’t want to drag it out. You and your family will get restless at some point and we dont want that
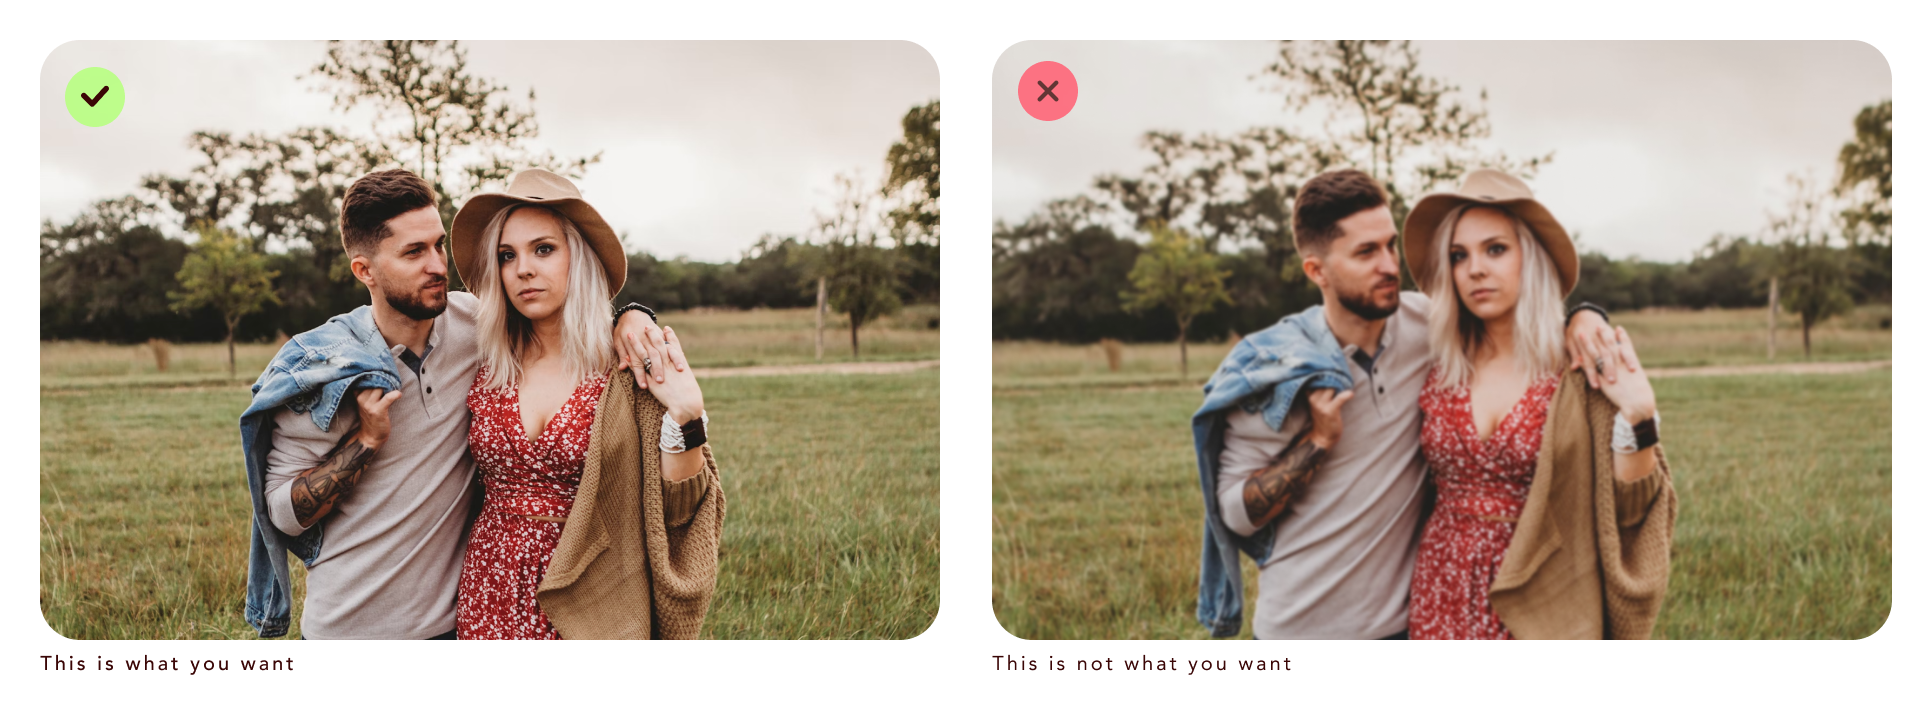
Framing and positioning
When taking the pictures, you want to make sure that you and your family are the main focus of the picture.
Imagine placing a 3×3 grid over your frame and position your family members along the intersecting lines (see below). This technique is simple and brings balance and focus to the Photo.
This shouldn’t stop you from snapping, different angles, layouts, or candid moments. You can get creative! Just have this simple guide at the back of your head as it guarantees great results every time.

Photo by Ilya Pavlov on Unsplash
Avoid fuzzy or blurry faces
There are many editing tools you can use to adjust your Photo’s contrast, exposure, brightness and so forth. But it’s hard to undo fuzzy or blurry faces after the photo is taken.
For Smartphones, check your phone model online and type “how to focus and have sharp photos with [input your Phone model here]. You will be able to find information online.
For DSRL Cameras, depending on your model / manufacturer you will have options to have it auto focus or do it manually. Have a look at the manual or check online as well and you’ll find also a slew of short youtube videos.
Lighting
The sun is all we need to get those natural light and colours.
Where the sun is located, how cloudy it is, and where you position your family will bring different results.
Be the judge of how you want to approach by keeping these in mind:
If the sun is behind your family expect strong darker tones/shadows and some favorable highlights/hue at dawn or dusk

If the sun is in the front of you, You’ll benefit from strong highlights and exposure.
If the sun is on the sides early morning / evening, you’ll enjoy a nice balance of highlights and shadows with some sharp contrast.

If the sun is right above you (around noon) the highlights will be predominant with minimal shadows.
If it’s cloudy, you might find that the highlights, shadows, and colours are more muted.

After the photoshoot, Ribbet Adjustment tool panel will allow you to tweak your photos Highlights, Shadows, Contrast, and Colours.
After the shoot: Adding the Bohemian Effect
Now that you’ve taken your photos, you can begin enhancing them at the editing process.
Adjust colours and tones. Enhancing warm hues. Decreasing saturation and applying vintage-style filters. This is how you will give your photos a dreamy, nostalgic feel.
Step 1
Login into your Free Ribbet account (or Sign up). All the tools and edits you will be using is completely free.
Step 2
Once you are on the Homescreen you’ll see the option to Start editing. Just so you know you can drag one more images into the Image Library, but lets start with adding just one.
It’s important to note that Ribbet supports PNG and JPG image formats.
Step 3
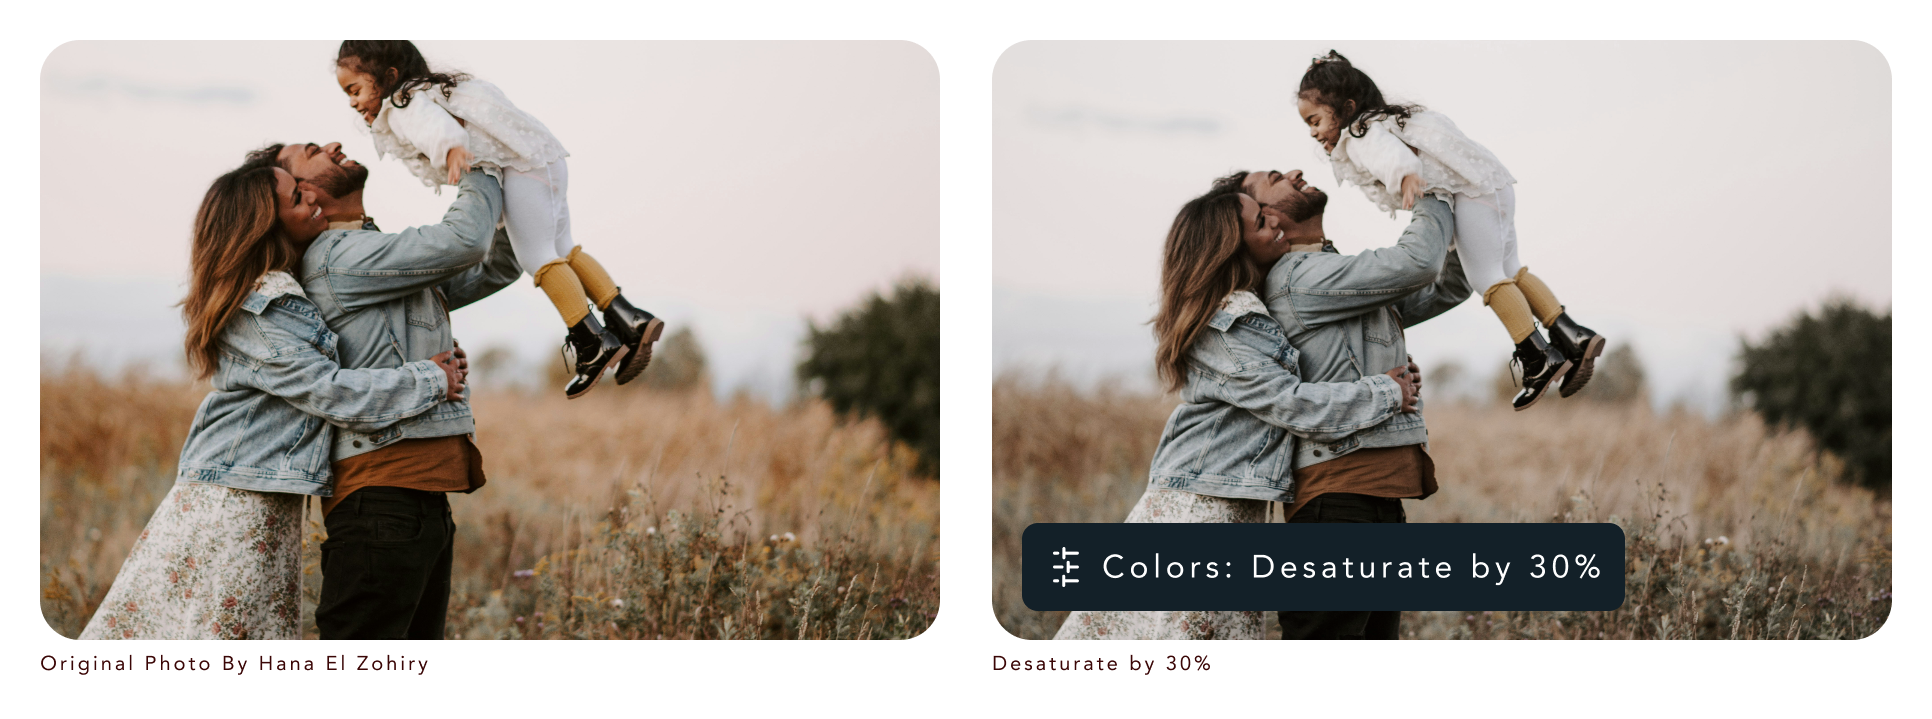
You’ll see the image you uploaded shown in the editor. Click on the Adjustment tab and select the tool Color and notice the Saturation slider
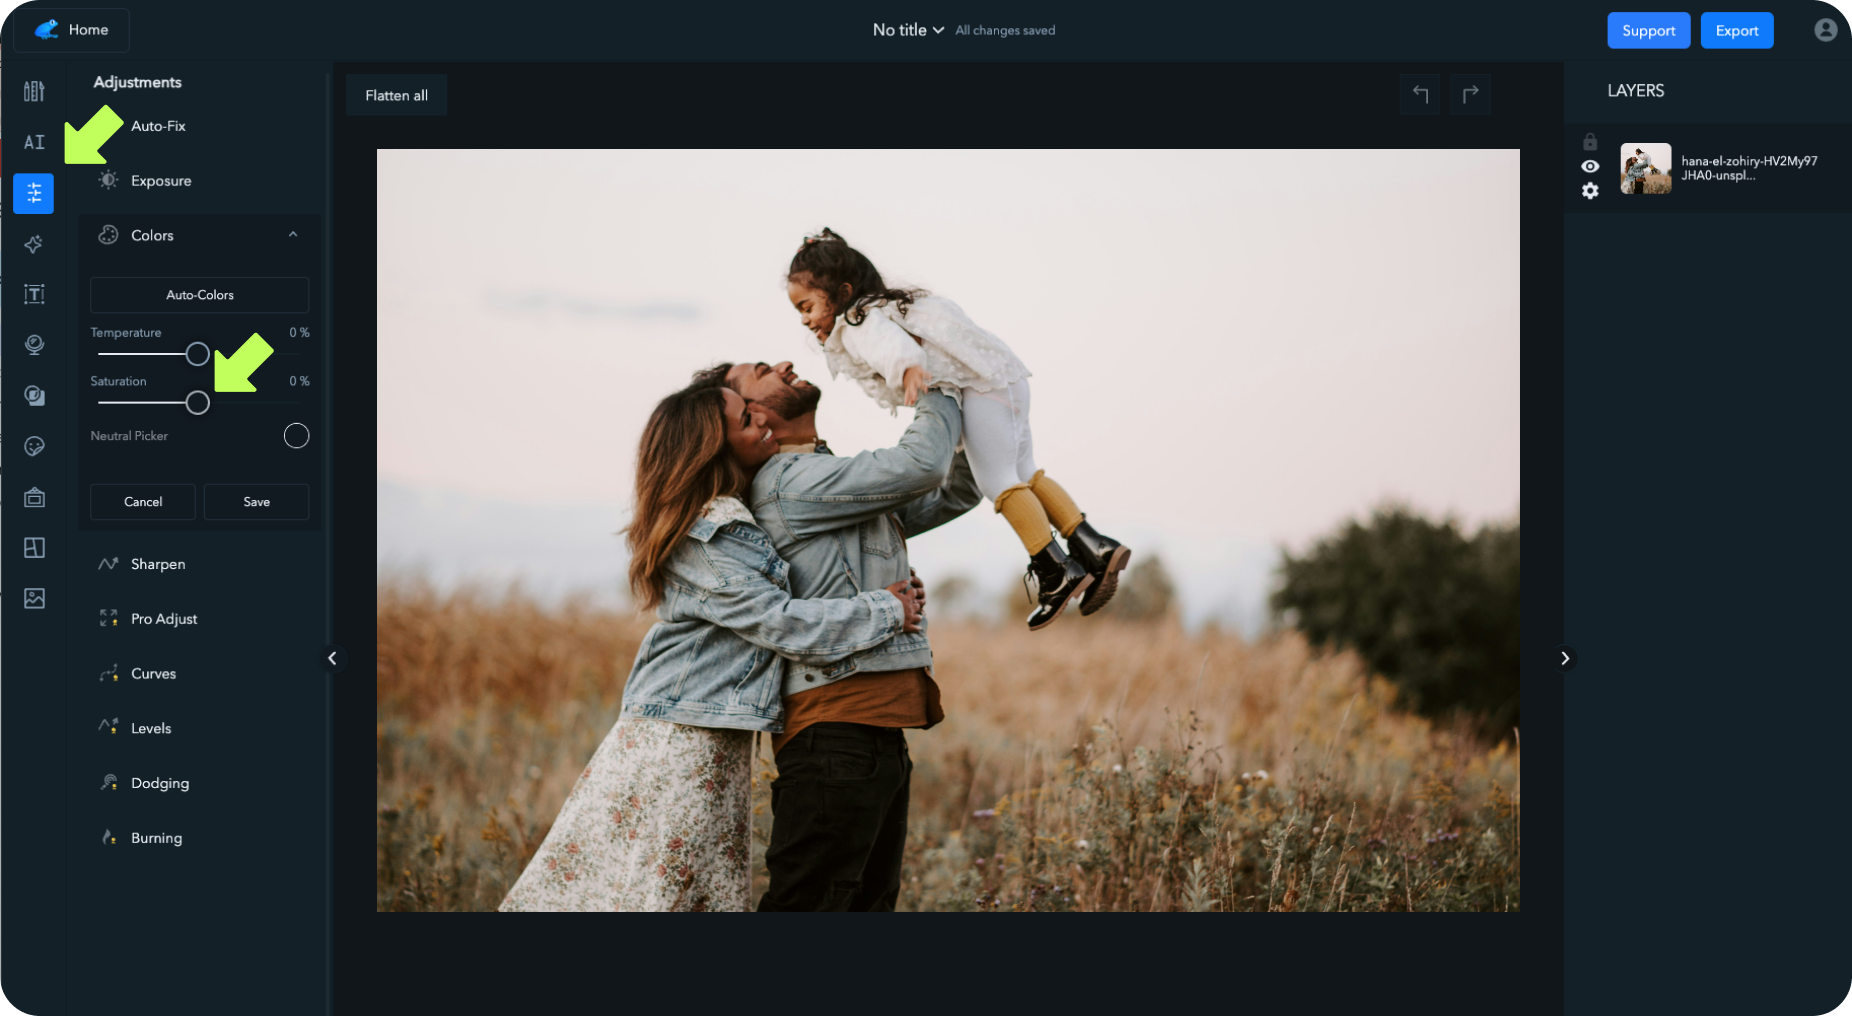
Step 4
Desaturate your image by 30%. This will set the base for giving a vintage and earthly tone to it.
Step 5
In the editor, click on the Filter tab (just under Adjustments) and notice you have a library of Filters. To get that Bohemian style, I recommend picking from the ones shown below.

Step 6
Once you’re happy with your edit you can continue the same process for the next photos you have in mind.
Your edited photos will remained safely stored in the Ribbet cloud and you can decide to export to them whenever you want. Just click on the Export button in the top right corner to download to your computer/desktop.
Printing your photos
If you haven’t printed photos before at home or you don’t have a printer, you can head out to a local printing shop.
They’ll be able to help you figure out the requirements like the type of photo paper you want to use, the dimensions, how many photos you want to print, and in what file format and size they need it to be.
Depending on the Print size you want to go with, see the chart below when you’re ready for downloading and sending your Bohemian style photos for printing.
- The resolution in Pixels with 200 DPI will get you optimal quality printing
- The resolution in Pixels with 300 DPI will get you a high quality printing

I really hope this was been insightful for you and would love hear your feedback or questions!
Happy Editing 🙂
