Photo Basket [Layers]
- This topic has 0 replies, 1 voice, and was last updated 14 years ago by
.
- The forum ‘Collage, Layers & Blend Modes’ is closed to new topics and replies.
Home / Forums / Help / How to: Program version / Collage, Layers & Blend Modes / Photo Basket [Layers]
Use the Photo Basket to add multiple photos into a single project. All photos accessible in the Library tab are also available in the Photo Basket. Connect to the sites where you store photos (Flickr, Facebook etc.) to incorporate them into your project.
The Photo Basket has two uses: layering photos on top of each other, and adding photos to a Collage. This is how to use it:
1. Make sure you’ve registered and that you’re signed into Ribbet.
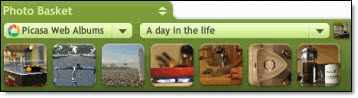
2. Click the green Photo Basket tab at the bottom of the screen.
3. Get your photos. Use the drop-down menu to select the location of the image you’d like. Click Upload Photos to get more images from your computer.
4. Drag and drop a new image from the Photo Basket into your project.
By using the Photo Basket you can layer in other photos to add texture and character to your images. After you drag in images from the basket, use
the circles around the image to rotate and resize. Combine your images using the Fade slider or by trying various Advanced Blend Modes.
The Photo Basket is also the place to find the right photos when creating a Collage. Simply drag your images from the Photo Basket into the empty collage boxes.
